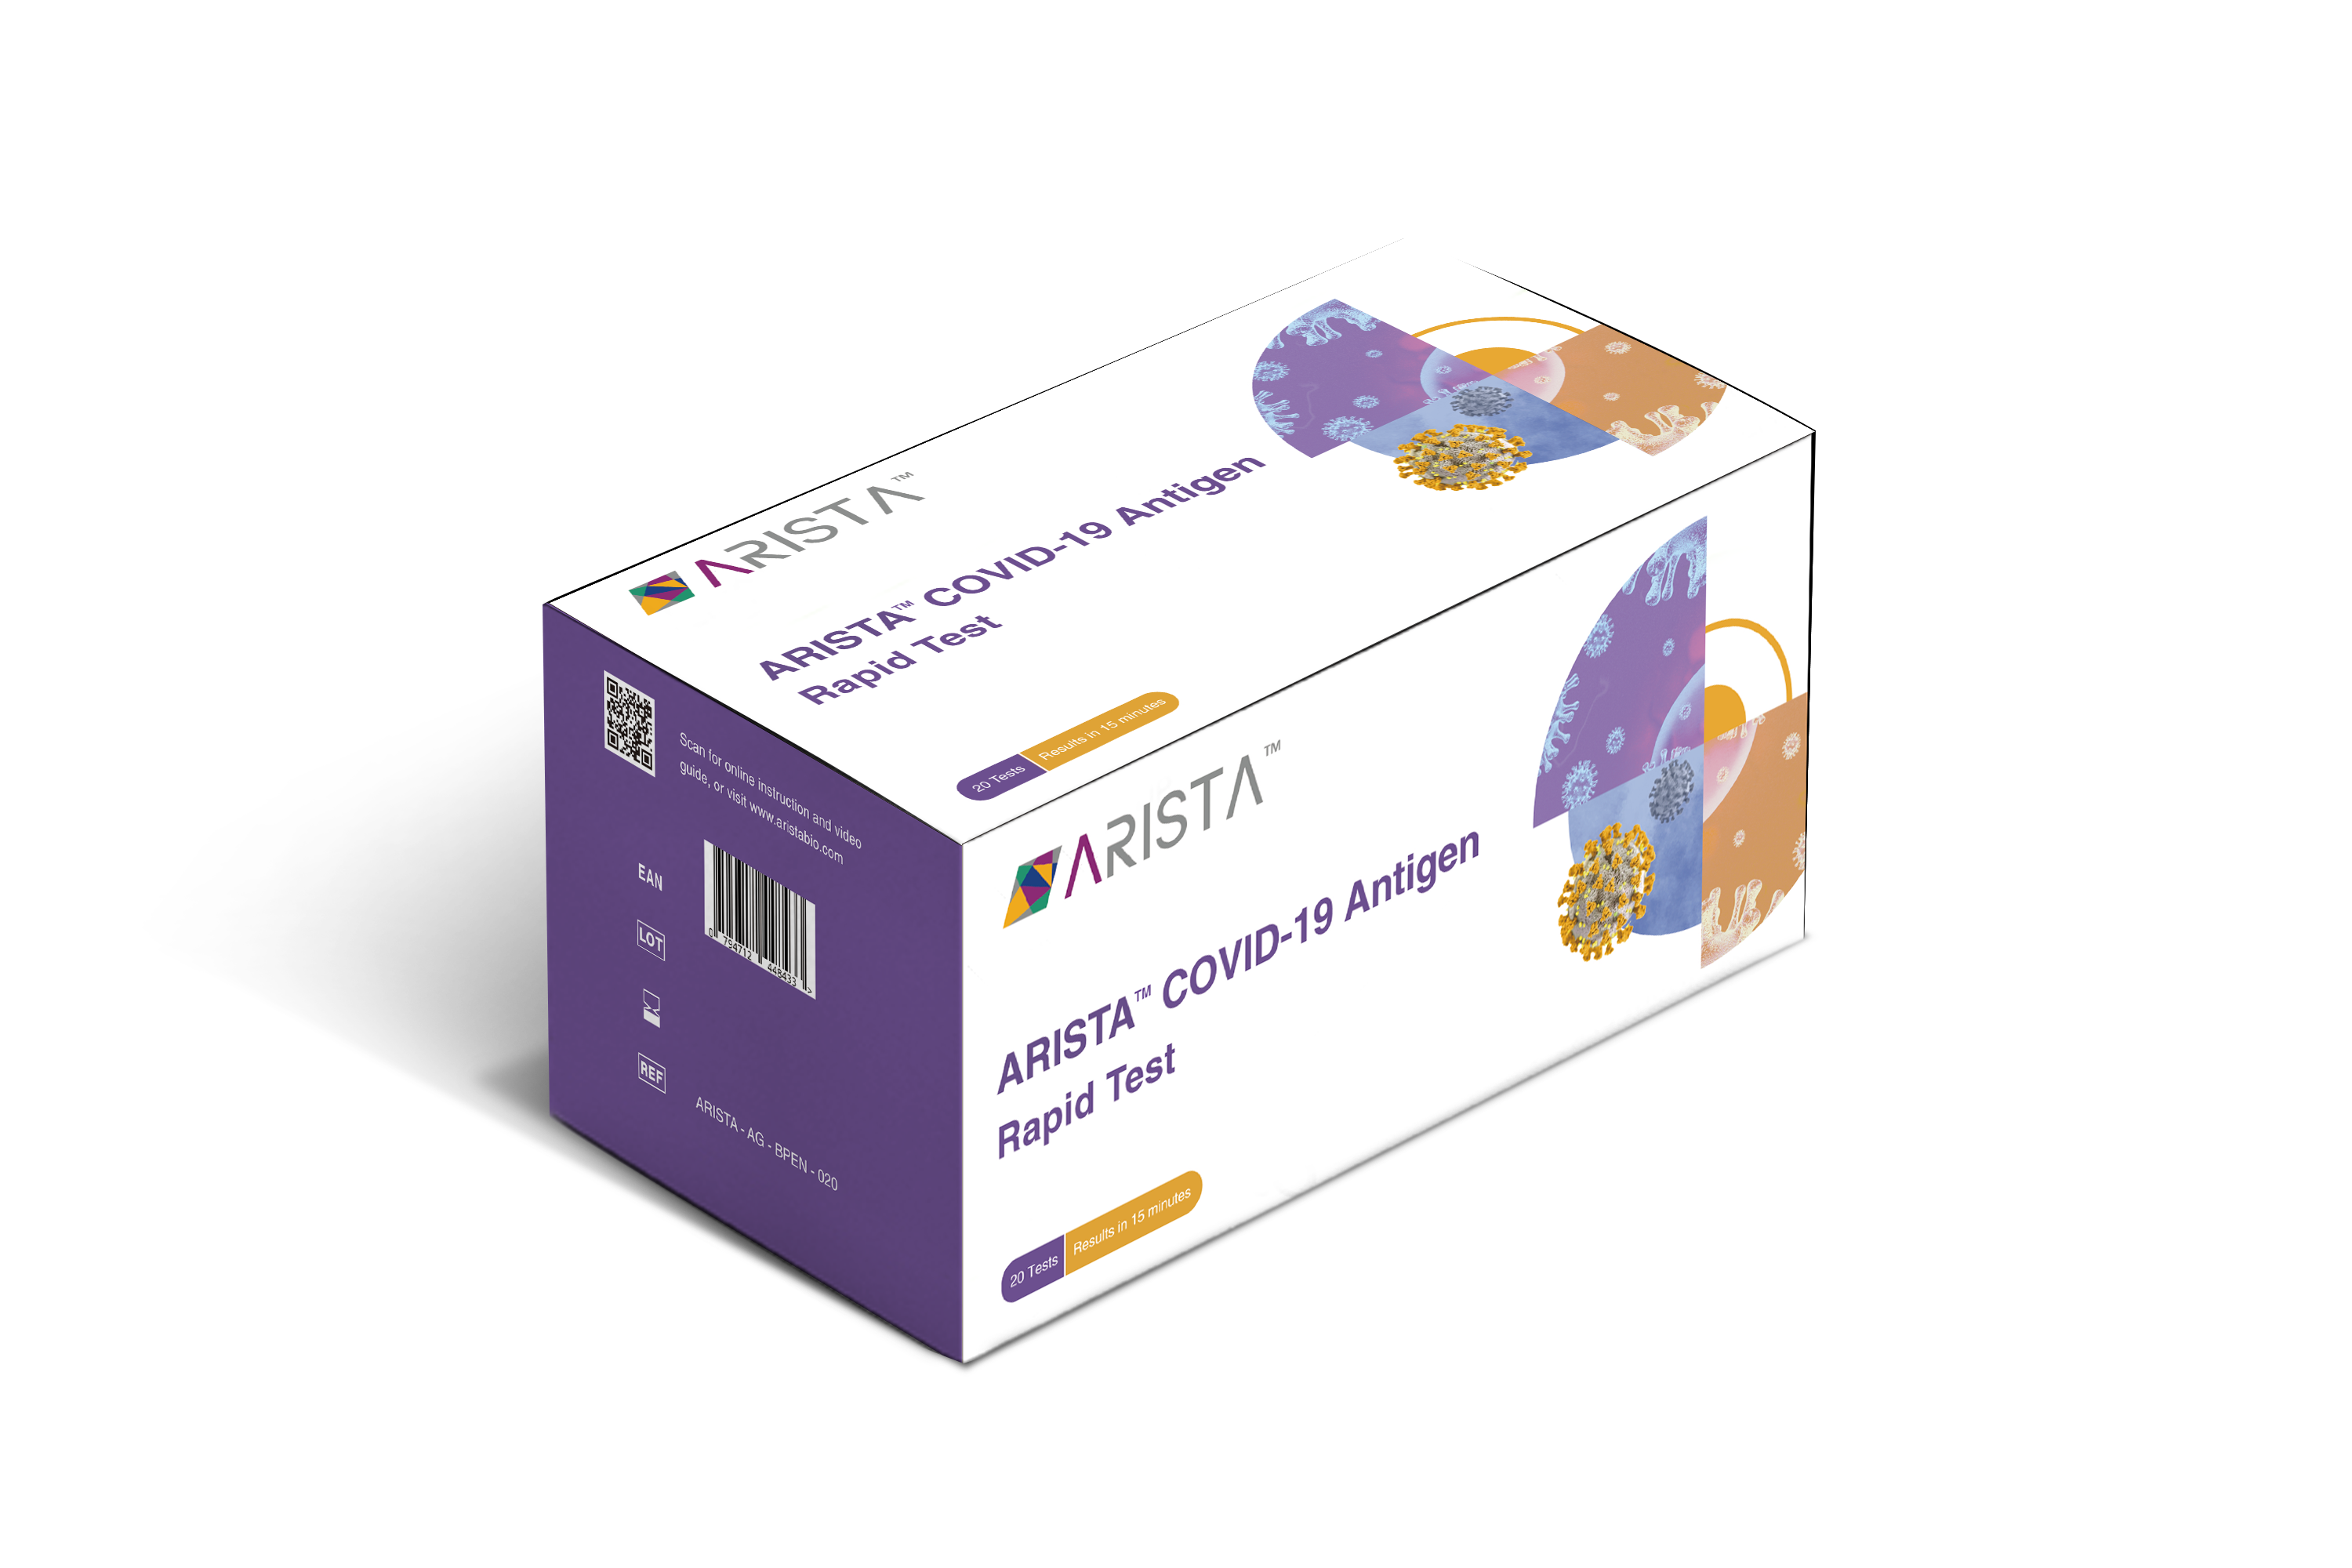
ARISTA™ COVID-19 Antigen Rapid Test
Intended use
ARISTATM COVID-19 Antigen Rapid Test is intended for in vitro qualitative detection of the SARS-CoV-2 virus nucleocapsid (N) protein antigen in deep throat sputum, anterior nares, nasal mid-turbinate, oropharyngeal and nasopharyngeal swab specimens directly from the patients who are symptomatic or suspected of COVID-19. The test is to be used by healthcare providers or personnel trained in any laboratory and non-laboratory environment that meets the requirements, as an aid in identifying SARS-CoV-2 infection.
Storage conditions
- The product should be stored at 3-30°C, away from direct sunlight
- Unused test cassettes must be stored in the foil pack
Test kit content
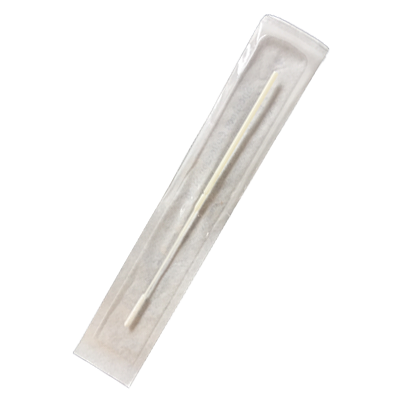
Disposable swab
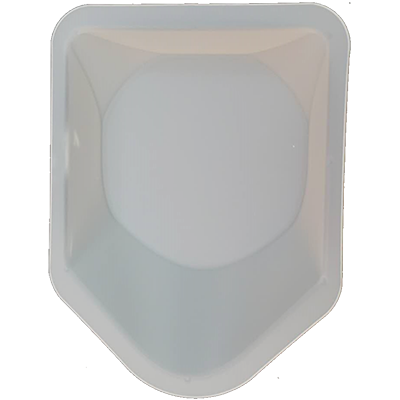
Sputum Dish

Dropper cap

Tube with diluent

Test cassette
Methods for Sample Collection
Four methods of sample collection are described in this instruction manual.
A Deep throat sputum specimen

- 1. Thoroughly sanitize your hands.
- 2.Inhale deeply and exhale forcefully, repeat three times.
- 3.Cough deep from within your chest to produce sputum.
- 4. Spit your sputum (slight yellow/green color) into the sputum dish.
- 5. Remove the sterile swab stick from the wrapper being careful to avoid contacting the tip with any foreign surface.
- 6. Fully cover the swab with sputum by placing it in the sputum dish and applying a mixing motion

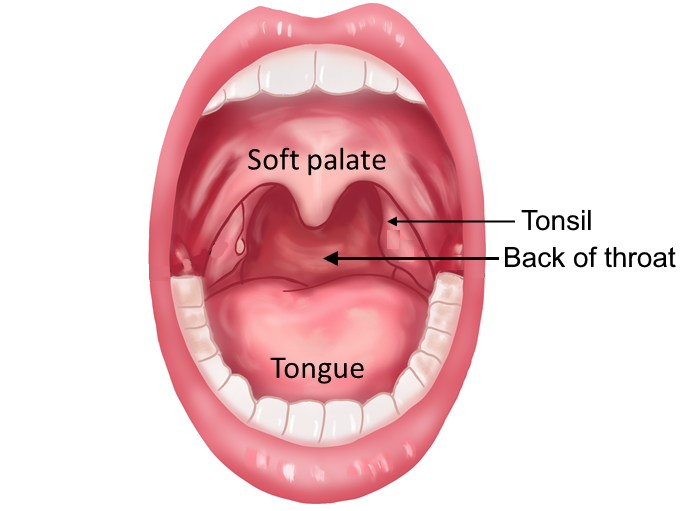
B Oropharyngeal swab specimen

- 1. Thoroughly sanitize your hands.
- 2. Remove the sterile swab stick from the peel-pack being careful to avoid contacting the tip with any foreign surface.
- 3. Instruct the patient to open his mouth and say “ahhh”. When swabbing children, it is advisable to use a tongue depressor for ease of application and additional safety.
- 4. Swab the back of the throat including the left and right tonsil area, taking care not to contact the swab tip with any other part of the mouth.
C Anterior nares nasal swab specimen

- 1. Thoroughly sanitize your hands.
- 2.Remove the sterile swab from the peel-pack being careful to avoid contacting the tip with any foreign surface.
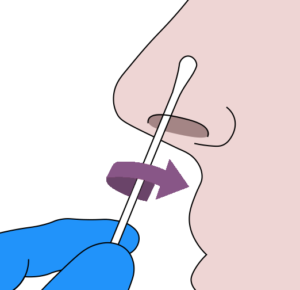
- 3.Insert the swab tip no more than 1.5cm (3/4 of an inch) into your nostril.
- 4. Slowly rotate the swab in a circular path against inside of your nostril at least 4 times for a total of 15 seconds. Be sure to collect any nasal drainage that may be present on the swab.
- 5. Using the same swab, repeat steps 3-4 in the other nostril.
D Nasopharyngeal swab specimen

- 1. Thoroughly sanitize your hands.
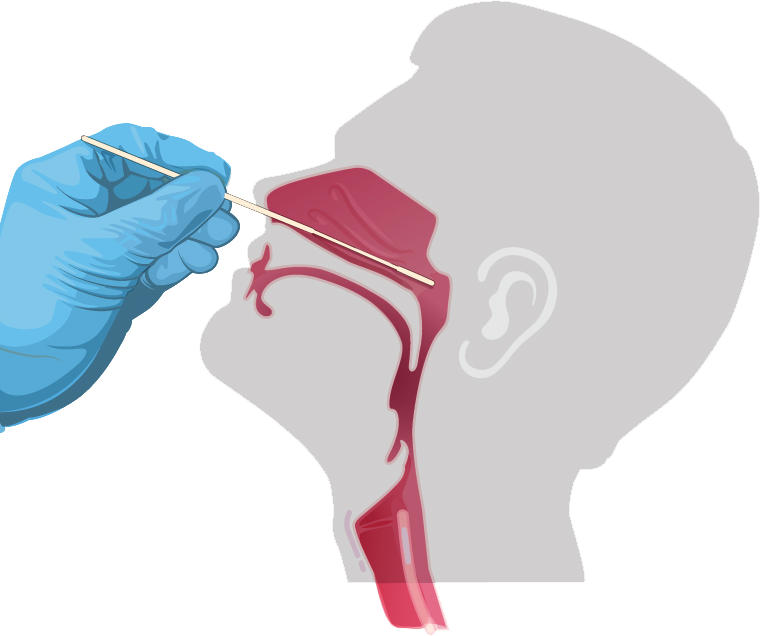
- 2. Tilt the patient’s head back 70 degrees.
- 3. Remove the sterile swab stick from the peel-pack being careful to avoid contacting the tip with any foreign surface.
- 4. Gently and slowly insert the swab through the nostril parallel to the palate until resistance is encountered
- 5. Gently rub and roll the swab, leaving it in place for several seconds to absorb secretions. If a deviated septum or blockage creates difficulty in obtaining the specimen from one nostril, use the same swab to obtain the specimen from the other nostril.
- 6. Slowly remove swab while rotating it.
Conducting the test


1. Equilibrate the specimen and the test kit components to room temperature.
2. Pierce the seal of the tube containing the diluent by pushing the pointed dropper cap onto the tube seal.
3. Remove the dropper cap and place it upright on the workbench with the protective top facing down.
4. Insert the swab stick into the diluent inside the tube and rinse it in the solution for 30 seconds with a turning motion. Squeeze the tube and stir the swab for 5 times.
5. Squeeze the tube whilst removing the swab stick from the tube. Dispose the used swab safely.
6. Replace the dropper cap back onto the tube with diluent. Mix the tube gently by shaking for 5 seconds.
7. Remove the protective top from the dropper cap, invert the dropper tube containing the specimen, squeeze and discard 2 drops of specimen into cap. Then squeeze 3 drops of remainder specimen into the sample well on the test cassette.
8. Wait for 15 minutes.
9. Read and record your result immediately.
10. Dispose all materials in a plastic bag and sanitize your hands thoroughly.
Understanding the test result

NEGATIVE

POSITIVE
INVALID RESULT
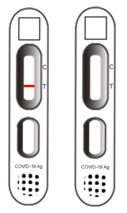
1. The “T” line detects the presence of the SARS-CoV-2 antigen. The “C” line is an internal control to confirm that the test is valid.
2. Negative result: if the “T” line is blank and the “C” line displays a visible colour band, then the test result is negative.
3. Positive result: if both the “T” line and “C” line display visible colour bands, then the test result is positive.
4. Invalid result: if the “C” line is blank, then the test result is invalid.


